Advertise Here

Miss Adventures

-The Many Wonderful Adventures Of Jodi Ann!

Comments: (1)
Well ladies and gentlemen, I am officially an AUNT!! I can't even believe it myself.  My sister gave birth to a 7lb 14oz beautiful baby girl on Tuesday.  Just a few hours from my very own birthday!  I seriously couldn't have gotten a better present! 
 I can just stare at this perfect little face all day!
Speaking of presents, Make It and Love It is offering a fabulous give away here.  I have linked to her before, she a fabulously talented woman, and one of my frequent reads.  She is giving away this gorgeous pendant valued at $129.  It is the perfect gift for a new mom, don't you think?
So hurry on over to Make It and Love It's site to check out how to enter!  There is also a link in my sidebar if you happened to miss any of these ;)  GOOD LUCK!!!
<3 Jodi Ann!
Years ago my mother gave me this binder that she came across during an estate sale.  She brought it home for me, because then, I was an aspiring young artist and she thought I would enjoy it.  Enjoy it I have,  I have always looked at this binder, wondering about the owner and her story.  It has been a great source of inspiration.  I recently brought out the binder and decided to try to find out a little information behind it, sadly though, the internet searches and letters to McCall's have yielded no results.
I have taken many many pictures of the items within this binder for two reasons.  One, to share with you and two, to hopefully find out a little something about these pieces.  If you have any information regarding these schools I would love to know more!  I have removed the woman's name for the privacy of her and her family.  The dates that I have found range between 1931 and 1940.  Here is what I am talking about: (you may click on any image to get a larger view)
McDowell School Booklet and Application for Registration.


                               List of Courses: Tuition $250


 Sample Illustrations
 Another McDowell School Booklet
Letters From McDowell
McCall Sewing School Folder
Samples of the "Mystery Woman's" Work
One of my favorites
The back of the Illustration Boards:
Fireside Studios, Dated 1931
Quote: "There are many different ways a married woman can write her name."  
Resort Fashions :)
Isn't it amazing?  I always wondered what happened with this woman.  She was a woman in the 1930s who wanted to go to school in New York City.  She took design courses from home, as far as I can tell by the boards, some of them were stamped upon receiving.  If anyone has any information about these pieces please let me know.  Until then, I will enjoy them in wonder as I've done before :)
Stay happy, healthy and safe.
<3 Jodi Ann!


Comments: (0)
Earlier today I told you that I was working on a little something.  Well I am finished and I'm very pleased with the results.
I had never worked with Mod Pogde before.  I know it's like a crafter's sin, but seriously I hadn't.  I bought a little jar yesterday thinking, I'm gonna see what all the fuss is about.  Well this stuff is awesome!  But you probably already knew that :)  I think it takes a lot of self control, however, because I could see myself mod podgeing everything in the house!  Don't worry the cats are safe.... at least for tonight ;)  Seriously though, I started looking up some mod podgey projects and there are some great things out there.  Like these shoes for instance. Shoes, yes mod podged SHOES
Well I am not nearly skilled enough to make shoes, so I chose to pretty up a wooden tray that I had in the house.  I've been seeing a lot of sweet little birds lately and I wanted some of my own.
Here are a list of supplies:
  • Wooden Tray
  • Jar of Mod Podge
  • Scissors and/or X-acto knife
  • Foam paint brush
  • Scrapbook paper
  • Pencil
  • Paint
  • Paint brushes
First, paint your tray, let dry.   Next, draw out a plan, something rough to give you an idea of what you want to create.  Next draw out your pieces on the back of the scrapbook paper.  Keep in mind that when you draw the image on the back it is going to be backward when you flip it over so draw it backward to compensate for this.
When you have your images drawn out, cut them out carefully.  After this, lay all of your pieces out making sure you like the configuration.  This was the hardest step for me, I tried many different things before I settled on the final design.  Although it is quite fun putting your pieces together and seeing all of the different options you have.  It is a puzzle of sorts.
After you find the winning combination it is time to begin.  Using the foam brush, brush a thin layer of mod podge on the tray (or whichever surface you choose) and also on the back of the paper and paste and place all of your pieces.  After your pieces are glued down put a coat of the mod podge over the entire thing, careful not to lift the edges of the paper.  Now if you have never used this medium, as I hadn't, I will tell you expect to see a white film covering your beautiful paper.  This is okay!  It dries so clear... WHEW!  I wish someone had told me that.  I questioned this the whole process, wondering if I'd ruined it! 
Let the whole thing dry and then continue to add layers of the medium until you reach your desired result.
Lastly, place it on your new cube shelves and gaze lovingly somewhere you will be able to enjoy it :)
I'm off to eat a late dinner :) Have a wonderful night.
<3 Jodi Ann!
OH YAYAYAYA I got my cube shelves yesterday!  I am so excited.  I went right after class, bought it, came home and put it together twice one time... perfectly... no problems.  And got to the fun part.  I had plenty of room for all of my things, I have two totes for fabric, one for odds and ends items like rulers, glue gun, ribbon etc and one for school supplies.  The best thing is if I need something I can take the tote with me and it stays organized.  I feel peace entering the space for the first time in a year :)
Well enough about it.. check it out for yourself, let me know what you think.
I also bought some Mod Podge.  I am currently working on a little something, so I will see you soon :)
Until then, stay happy, healthy and safe.
<3 Jodi Ann!
Comments: (0)
A mess.
Oh yeah, and a little gift cube.  What is a gift cube you ask?  Well it's a soft little cube with a smile, and a gift card!  I saw something similar somewhere on the web, but sadly I don't remember where.  I will try to post a link when I find it.  I like the idea of giving a gift card with a personal little touch.  So instead of just making the little pocket I decided to add a little cutie face :)
Oh yeah, and some little arms to help hold the card.  And a sweet little bow, just to add some pretties.
I do have a confession, I do not like felt.  I know it's wrong, but in my defense I don't believe it likes me very much either.  Felt seems to become misshapen very easily, and it dulls my scissors to no end.  I think I am going to be sticking to fabric after this. 
Tomorrow, I am taking a trip to get my cube shelving, ahh the thought of adding organization and space to my little craft area makes my heart very happy!  I will try and post pics when it is finished. 
Until then stay happy, healthy and safe,
<3 Jodi Ann!
Comments: (0)
Today I bought a bunch of felt, I don't really know why.  I had no real intention when I bought it, but it was too pretty to resist.  So I came home and thought about it, picked up a tablet and began doodling.  Then I came up with this guy/girl.

I have to admit, I have been seeing owls everywhere and I love it!  I love it so much that it was pretty much the only thing I doodled.  I got right to it.  It is a pretty basic process, cut and paste (or in this case stitch).
 
  Flip him right side out.
YEEEEEEOOOOOOWWWWLLL!!
Add some stuffin' and voila!  You have yourself a cutie! 
I'm a sucker for that sideways smile.  Mr. Owl now resides next to my craft area, he is there to be supportive and possibly judge every stitch I take.... hmmm.
Well that is all for tonight, but stay tuned.. I have some good ideas cooking :)
.... as will I.  
Stay happy, healthy and safe!
<3 Jodi Ann!

Comments: (0)


<3 Jodi Ann!
Comments: (1)
So today I was lazy, extremely lazy.  I made spaghetti from the jar for dinner and the jar was just so beautiful I couldn't throw it away.  So I cleaned it and pondered for a bit.  I thought and thought and then remembered seeing someone make a pin cushion from a glass jar.  Now this is the perfect solution for me because no matter where I hide my pin cushion Pipa finds it and carries it around the house pulling out pins as she goes.  Attaching the cushion to a heavy jar just might be the deterrent I need.  I set off to find out where I found that awesome tutorial.  Here is where I found it.  Now, I didn't have a baby food jar, I had a huge spaghetti sauce jar, but that didn't bother me, just more room to fill!

There was one problem, however, with that extra glass.  It seemed a bit plain, so as I searched frantically for a glue gun and stick, (I knew I had one somewhere!!!)  I found a stash of brand new paint brushes.  Fantastic! I'll paint something on the glass.  And then, in my trunk I found, glass etching gel and a stencil.  It was fate! So I started etching away... still unable to find a silly glue stick.
Warning! This stuff is nasty, it will burn your skin, your eyes and generally ruin anything it comes into contact with, so please use with EXTREME caution.  All you do is apply your stencil, put a thick coat of the gel over it, let it set for five minutes and rinse!
Be patient! Don't rinse too soon!
There! All etched and ready to roll!  Now that my etching was finished I was bound and determined to find a darn glue stick.  I searched the trunk one last desperate time and BEHOLD I found it!!!
Next, I cut a circle of fabric and stitched loosely around the edges.
After that I placed a ball of fiber fill in the center and pulled the thread to cinch it closed.  When that was done and secured with thread I hot glued the lid and added the cushion.  Topped it off with some ribbon and there you have it! A pin cushion jar!!!


I think I'm going to make a few of these with different sized jars, I think an assortment will look super cute atop the new cube shelving that I am going to get for my craft area.  This project is really fun, and makes such good use out of something that would have most likely ended up in a landfill.  I'm now going to be on the lookout for items I can re-use practically.  If you have any suggestions I would love to hear them!!
Until next time, stay happy, healthy and safe!
<3 Jodi Ann!
But that doesn't mean I can't enjoy it!  I know, I know, I should be thinking about Easter'y' foods like... I don't know, ham?  Well, I never let a little thing like spring come between me and my pumpkin.  So this weekend I am going to go back to a wonderful recipe I found when I first caught the "blog bug."  Oh my, oh my, pumpkin scones... Oh sorry, I drifted off a bit. 
I made these babies back in 'Pumpkin Season', and they were AMAZING!  It was not an easily accomplished goal I must admit.  Sure the recipe was easy enough, but my quest to find pumpkin was one of legend.  Only to be topped by my search for French's Fried Onions last Easter. Oh SNAP that reminds me... oh well, it looks like this Easter will be without green bean casserole.
Anywho, I finally found a freshly stocked shelf of pumpkin and practically bought it all.  I mean, a girl can't have too much pumpkin. Bread, scones, rolls..... I'm drifting yet again.
Anyway, here is the one mouth watering photo of the scones I have to share.

Enough said, right?  So with that, I don't care what the calendar says!  I have 12 cans of pumpkin, a hefty workload coming to an end, a ton of coffee and a beautiful Sunday morning to enjoy with my Davey approaching.  I will have my scones :) And you should too! Check out BakingAndBooks and join the Pumpkin Crusade!
Until next time,
<3 Jodi Ann!
Comments: (2)
Yesterday I posted about how I wanted to add some interest to the front of my purse.  Well I did it.  It is a super simple and fun process.  I have been wanting to make these flowers for quite some time, and today turned out to be the perfect day.  I had tons of school work to do, but I didn't feel right going an entire weekend without making anything.  Sigh, I really can't wait to get back to my sewing machine :)
So here was the process:
  • First cut out circles from your fabric of choice. Mine were slightly larger than a half dollar.  
  • Next fold the circles in half and in half again, take a needle and thread and secure the end to make sure it doesn't come undone.

  • Continue this process, adding new circles and securing them.

  • After you have enough folds sewn together flatten out the folds.

  • Next, attach a button to the center.
  • After the button is attached, sew the flower onto your item of choice. You could also put a pin on the back for a removable option :)

  •  All finished! I think it is super simple but adds so much visual interest, don't you agree?
 Well that's all for tonight folks.  Until next time stay happy, healthy and safe!
<3 Jodi Ann!
This week has been a little crazy, with school work and family life I have had little time for creativity.  But not to worry, it doesn't mean that I'm not thinking up some goodies :)  This week I have added probably 10 to 15 new blogs to my "crafty crafty" browser folder.  This is where I put all of the things I've seen and have been inspired by on the internet.  It's kinda like my own must reads.  So tonight I will share with you a few plans and some of my recent favs. 
As for my plans...
  • Although I love my new purse, I feel as though it is slightly lacking.  So I would really love to make one of these cute little flowers to add interest.  Infarrantly Creative is quite possibly my favorite blog that I've been reading by the way, so I was soooo excited when she commented on my blog! 
  • Again, my new purse deserves a new wallet.  I am going to try to make the same wallet as I did before only this time I want to make one to match.  Yes, I should have thought that out a bit more :0P
  • Made By Rae is featuring Spring Top Week on her site.  I am very new to sewing but I have found a pattern that I would love to try out.  Who knows, maybe it will work! 

 What do you think? I really like the featured top on the model.  
  • I just found out that there is a Hancock Fabrics here in town.  Do you think the "I just moved here" excuse has a time limit?  I don't know, perhaps I should know this place a bit better after 3 years :)  Anyway, I have never been to a Hancock fabrics before so I'm dying to check it out!  Ahh.. a whole store full of brand new to me pretties!
  • Lastly on my list of To-Do's is a little organization.  As anyone with a hobby knows, sometimes supplies tend to sneak up on you.  And with my growing list of hobbies, supplies, school books, and music gear (ok that last one doesn't really belong to me) some sort of action will definitely need to be taken. So in my search I have found some great ideas, boy did I find some, I have settled on a simple cube bookshelf for the time being.  I want to add baskets to add some color and interest.  I really liked this photo I found from HGTV.com. Besides the red of course.  I am not a huge fan of red, I mean I don't HATE red per say. However, it just doesn't fit into my home interior palate.  In fact I have an entire other story on the subject.  Whew, it felt good to get that off of my chest, where was I oh yes, the photo!
 See? It's neat right? I really like the shelf up above as well.  I am still looking for more options because I can never seem to settle when it comes to stuff like this.  Do you have any suggestions, photos or links on organization for sewing materials, paints and books?  If so I would love to hear your ideas! 
Until next time, stay happy, healthy and safe!
<3 Jodi Ann!
How could I be? The pencil never stops moving, always creating and learning.  I love to draw, I always have.  When I was a child I made my cousin Amy a tiger with my sister's permanent markers.  It's a fond memory of our mothers and a shining example of how I cannot be stifled.  I would draw on walls, and my mom would tell me that my art was beautiful.  One day, at the age of 15, I decided that my room needed sprucing.  I painted a tiger on the wall. ( Have you noticed I love cats?)  After I had finished I was mortified! My mom was surely going to freak!
 Vanilla Rose: 
done in Illustrator for package design
She came home and I immediately confessed. She came in my room and looked at it.  "It's wonderful, and this is your room so it's okay." (I also painted a dragon on my sister's bedroom wall.)  My mom never ceased to amaze me.  She is always so understanding and supportive.  My sister is a musician.  My mom dealt with fully amplified sessions until 1:00 in the morning.  She was and is proud of us.  It is because of her that we weren't afraid to follow our dreams.
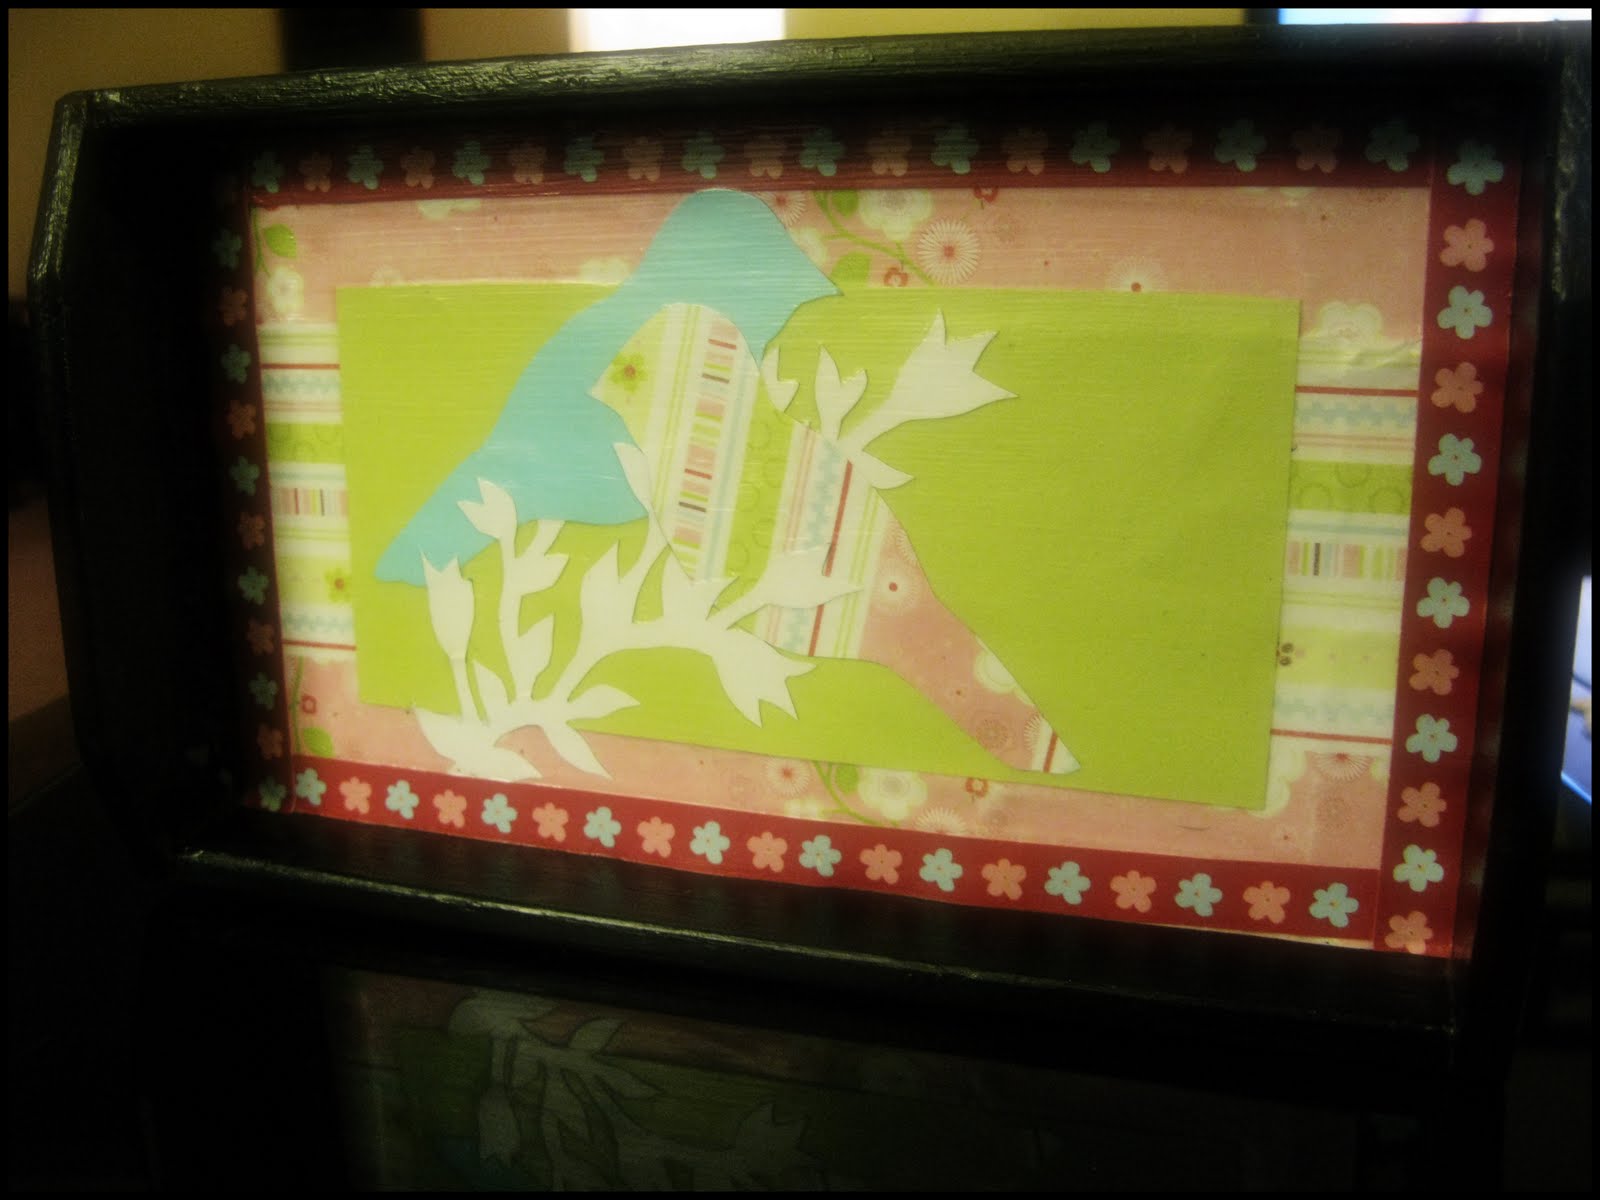
 Glade Package design: 
done in Illustrator
I did follow my dream.  I went to school for graphic design.  I worked very hard and enjoyed creating.  After graduation I was clueless as to what to do with the degree.  Don't get me wrong, there are a trillion options for artists, but none brought me joy.  I wanted to make my heart happy.  Art makes my heart happy.  Forcing creativity for the sake of a deadline, however, did not.
 Egret: 
Acrylic on Canvas
So I then decided that art was a part of me and always will be.  I enjoy looking at interior design, package design, fine arts, sculpture, photography, architecture, craftsmanship. You name it, I love it.  However, I couldn't and won't pursue it as a career, because that would be a death to that enjoyment.
 Realism to Abstract: 
Graphite, Acrylic, and Ink on Illustration Board
Over the past year I've used photography as an artistic outlet, but there was a hole, a sadness that only creating could fill.  That is why I started this blog, as a means of motivation to create.  And already, I sleep better, I smile more, and I feel like I am finding "me" again.  That makes my heart happy.
  Avalon Blues, a Tribute to Mississippi John Hurt
Graphite on Cold Press Illustration Board
Until next time my friends, do something that makes YOUR heart happy.
<3 Jodi Ann!