Earlier today I told you that I was working on a little something. Well I am finished and I'm very pleased with the results.
I had never worked with Mod Pogde before. I know it's like a crafter's sin, but seriously I hadn't. I bought a little jar yesterday thinking, I'm gonna see what all the fuss is about. Well this stuff is awesome! But you probably already knew that :) I think it takes a lot of self control, however, because I could see myself mod podgeing everything in the house! Don't worry the cats are safe.... at least for tonight ;) Seriously though, I started looking up some mod podgey projects and there are some great things out there. Like these
shoes for instance. Shoes, yes
mod podged SHOES!
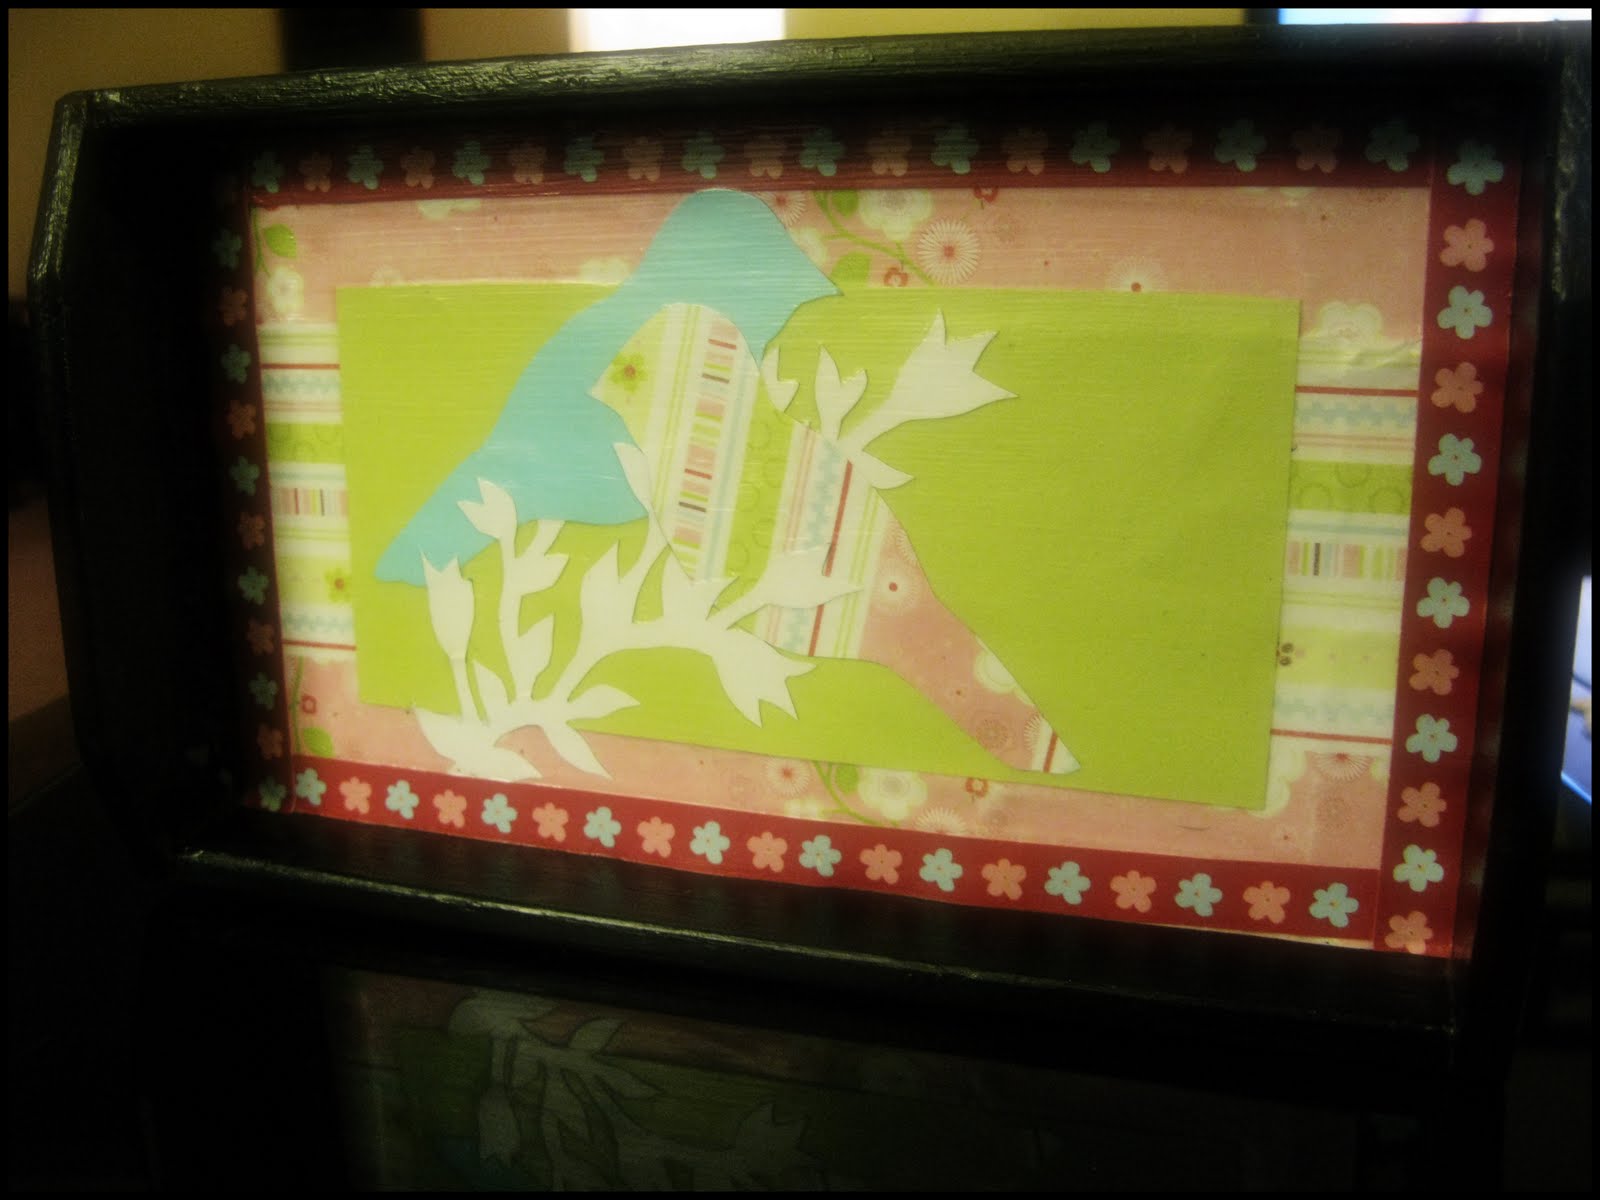
Well I am not nearly skilled enough to make shoes, so I chose to pretty up a wooden tray that I had in the house. I've been seeing a lot of sweet little birds lately and I wanted some of my own.
Here are a list of supplies:
- Wooden Tray
- Jar of Mod Podge
- Scissors and/or X-acto knife
- Foam paint brush
- Scrapbook paper
- Pencil
- Paint
- Paint brushes
First, paint your tray, let dry. Next, draw out a plan, something rough to give you an idea of what you want to create. Next draw out your pieces on the back of the scrapbook paper. Keep in mind that when you draw the image on the back it is going to be backward when you flip it over so draw it backward to compensate for this.
When you have your images drawn out, cut them out carefully. After this, lay all of your pieces out making sure you like the configuration. This was the hardest step for me, I tried many different things before I settled on the final design. Although it is quite fun putting your pieces together and seeing all of the different options you have. It is a puzzle of sorts.
After you find the winning combination it is time to begin. Using the foam brush, brush a thin layer of mod podge on the tray (or whichever surface you choose) and also on the back of the paper and paste and place all of your pieces. After your pieces are glued down put a coat of the mod podge over the entire thing, careful not to lift the edges of the paper. Now if you have never used this medium, as I hadn't, I will tell you expect to see a white film covering your beautiful paper. This is okay! It dries so clear... WHEW! I wish someone had told me that. I questioned this the whole process, wondering if I'd ruined it!
Let the whole thing dry and then continue to add layers of the medium until you reach your desired result.
Lastly, place it
on your new cube shelves and gaze lovingly somewhere you will be able to enjoy it :)
I'm off to eat a late dinner :) Have a wonderful night.
<3 Jodi Ann!


0 comments:
Post a Comment